




 31 October 2026

 Gamaliel Ertha Pirena
Shooting in 'Auto' mode is convenient, but it often misreads the situation. The camera doesn't know whether you're photographing a speeding car or a nighttime scene that requires tranquility.
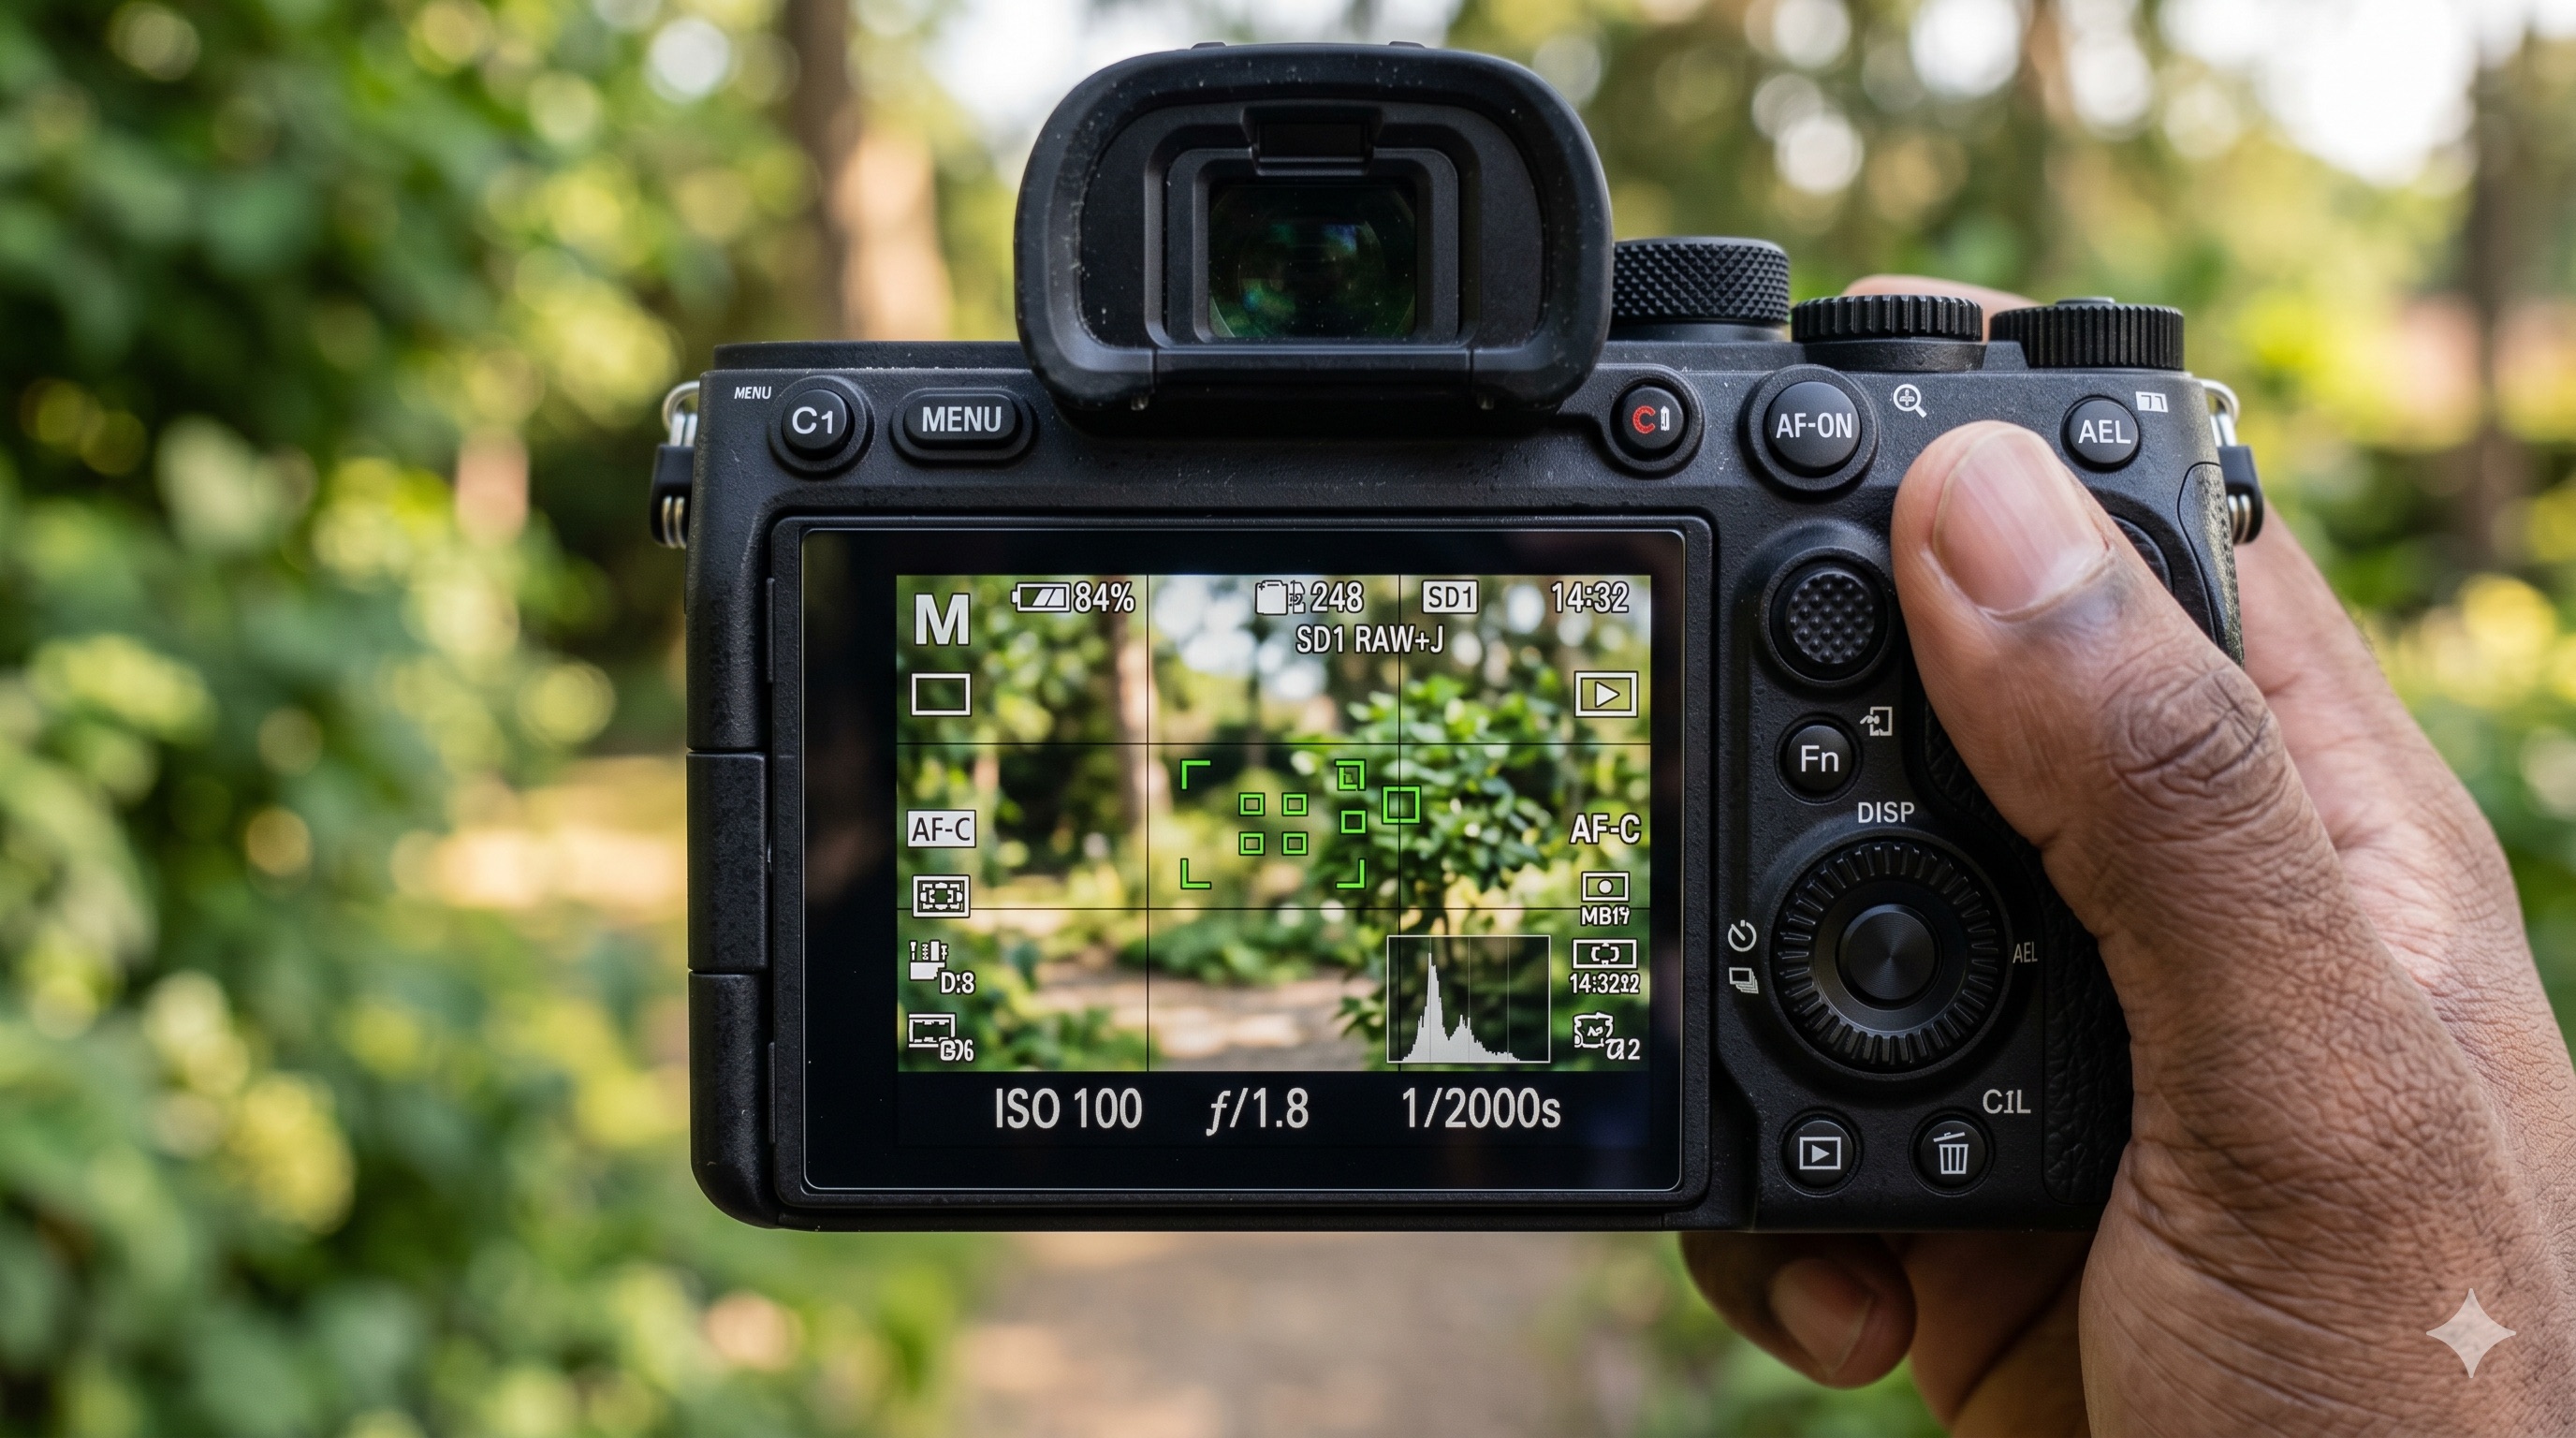
Mastery of Manual (M) mode is the first step to truly controlling your work. Here is a guide (cheat sheet) for setting the Exposure Triangle (Shutter Speed, Aperture, ISO) for three common scenarios:
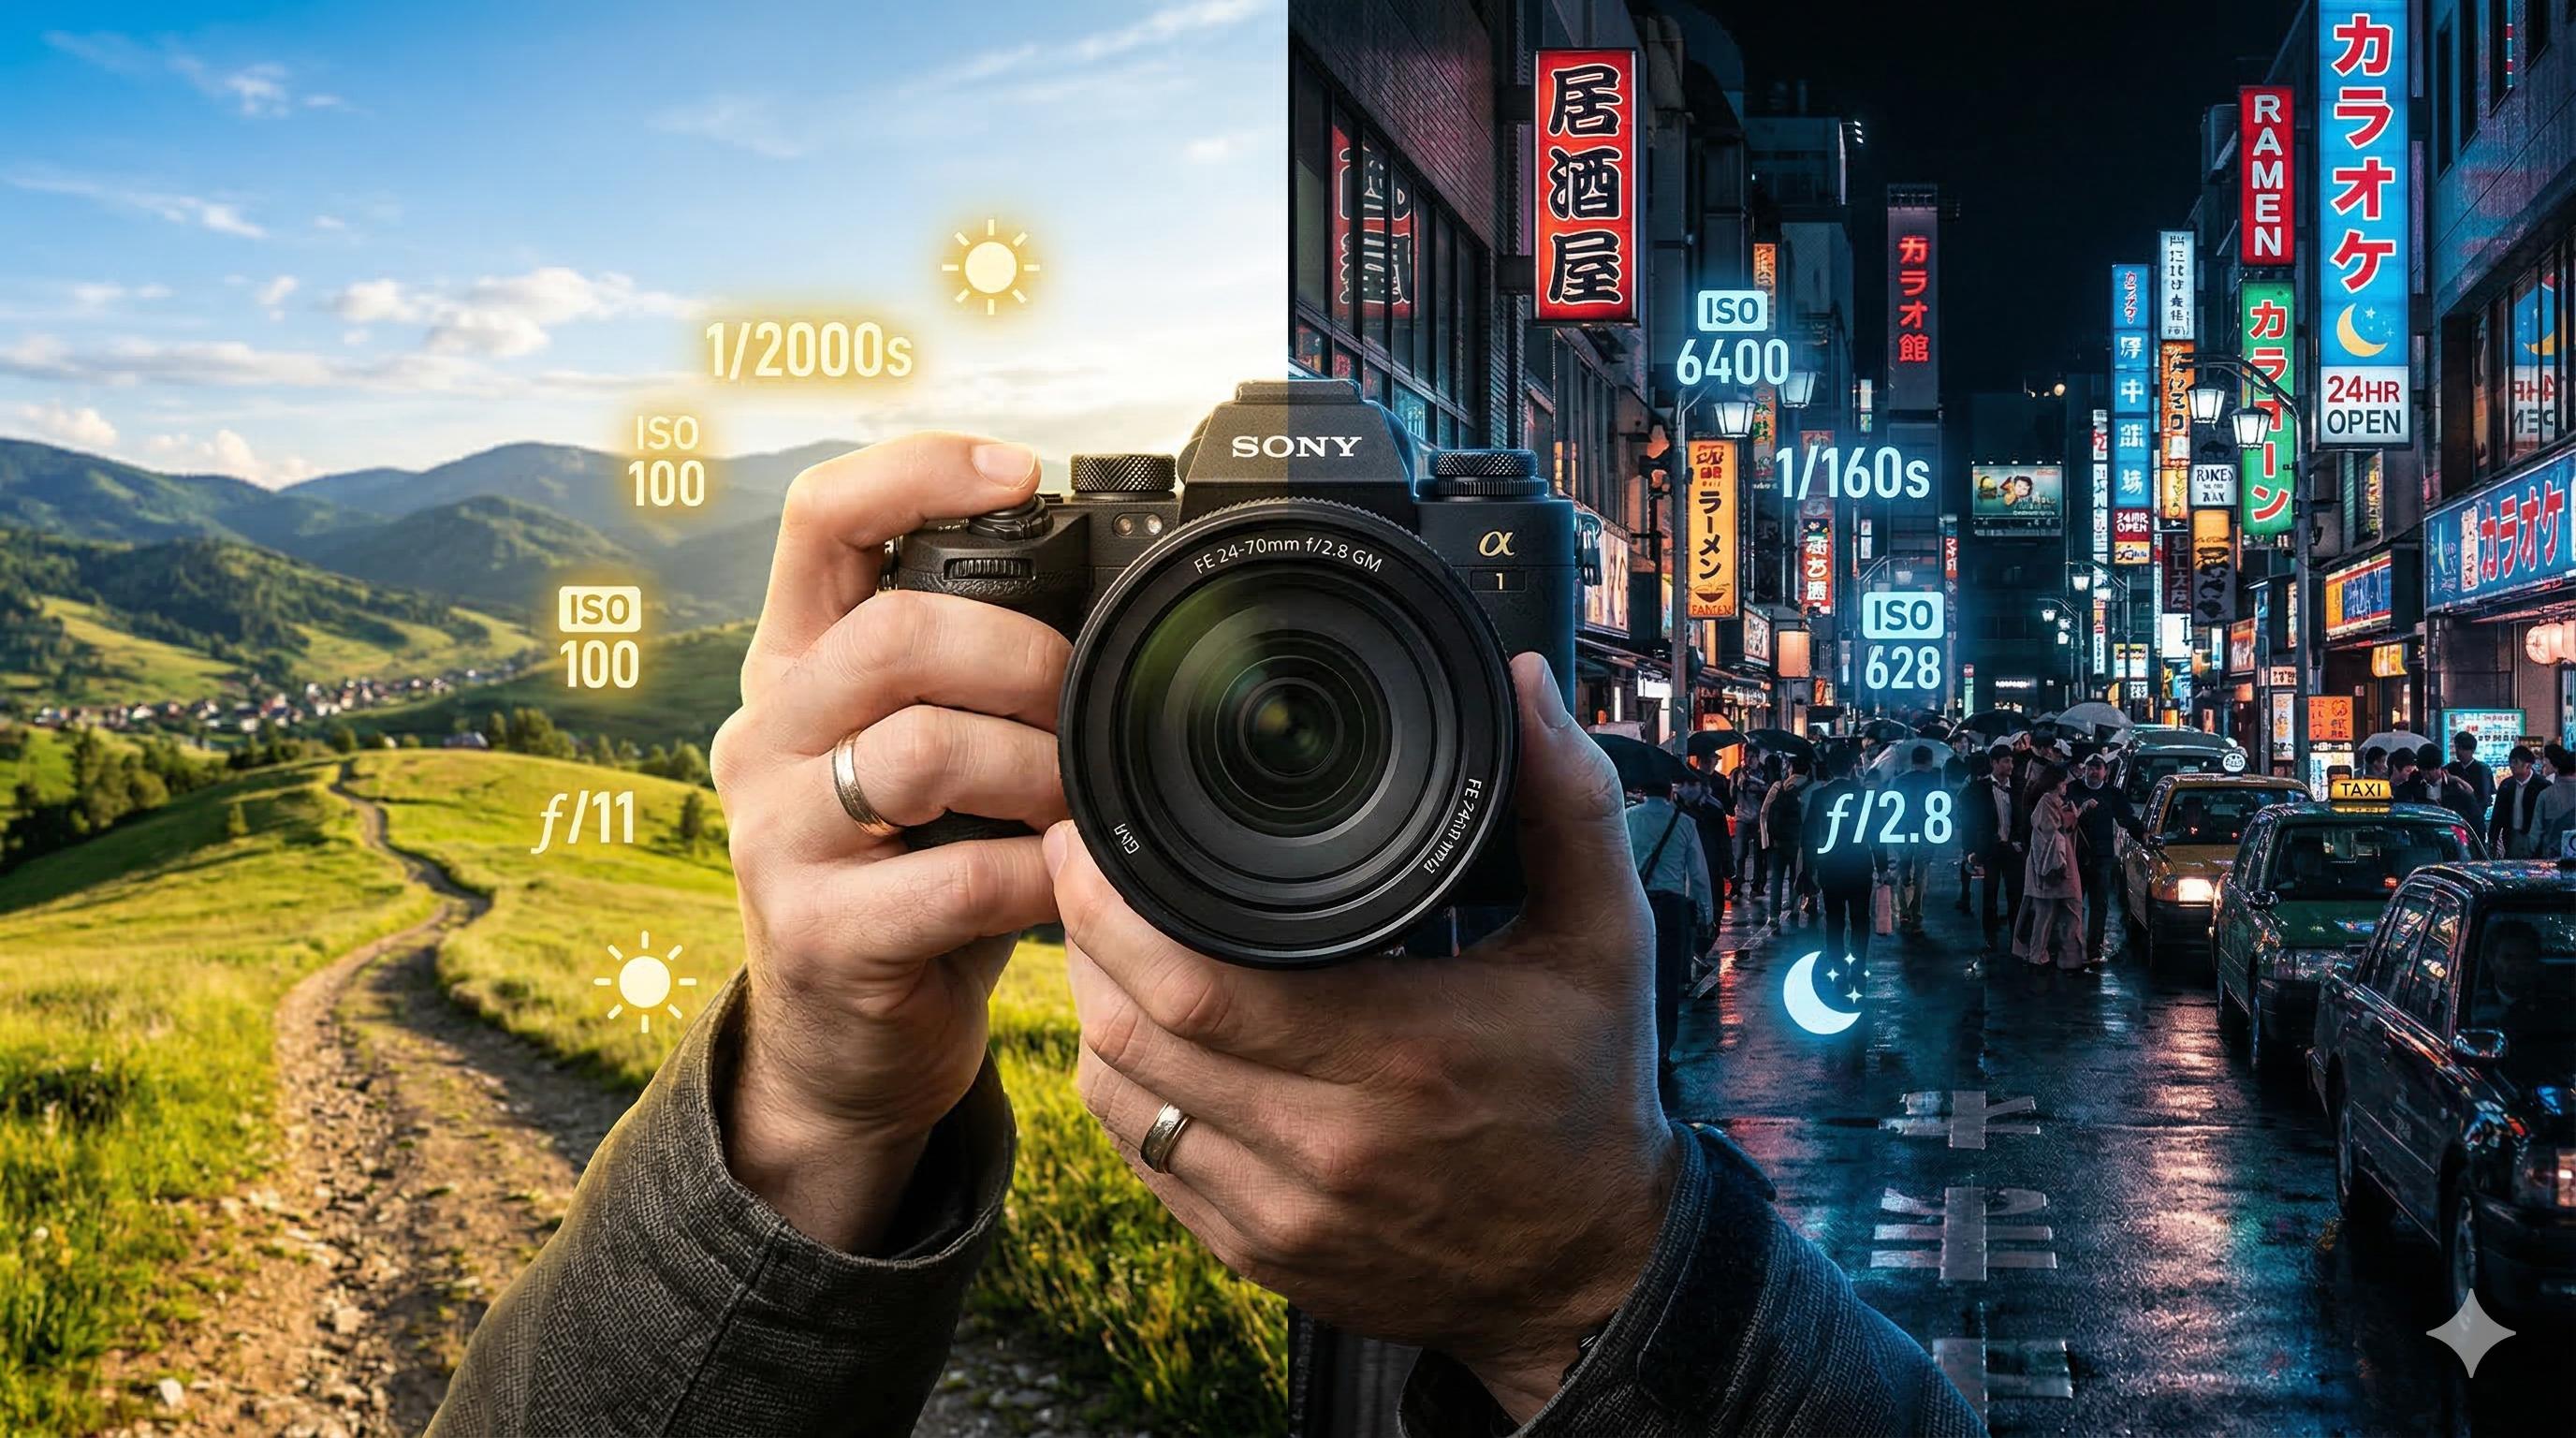
1. Scenario: Outdoor in Direct Sunlight The main challenge here is excessive light (overexposure). You need to limit the light entering the sensor.
- ISO: Lower it to the lowest number (usually ISO 100).
- Shutter Speed: Use a high speed, between 1/1000s and 1/4000s, to freeze the object and reduce light entry.
- Aperture: If you want all areas to be sharp (landscape photo), use f/8 or f/11. If you still want a blurred background effect (bokeh) with an f/1.8 aperture in broad daylight, you must use an additional tool called an ND Filter in front of the lens to prevent overexposure.
2. Scenario: Indoor / Inside a Room (Cafe or Office) Indoor lighting is usually a mix of room lighting and some sunlight from the window.
- Aperture: Use a large aperture (f/1.8, f/2.8, or f/4) to let more light in and slightly blur the cluttered background.
- Shutter Speed: Keep it within a safe limit to prevent camera shake. The rule of thumb: the minimum speed is 1/(lens length). If you're using a 50mm lens, use at least 1/100s.
- ISO: Raise it as needed between ISO 400 and ISO 800.
- Note: Pay attention to White Balance (WB). Cafe lighting is often yellow (warm), so make sure the human skin tone in your camera doesn't turn orange.
3. Scenario: Nighttime / Low Light (No Flash) The biggest challenge for photographers is capturing the natural atmosphere at night with available light.
- Aperture: Open it as wide as possible (the smallest f-number on your lens, such as f/1.4 or f/1.8).
- ISO: Don't be afraid to raise the ISO to 1600, 3200, or even 6400 (depending on your camera's ability to handle noise/speckles).
- Shutter Speed: Lower it to 1/60s or 1/50s. If you're photographing an inanimate object (a building) and using a tripod, you can use a very slow shutter speed (e.g., 2 seconds) and lower the ISO back to 100 for a very sharp image.

Komentar (1)
Tinggalkan Komentar